Struggling to make your measuring spoons stand out in a crowded market? Customization can be your secret weapon to win customers.
Customizing measuring spoons involves adjusting parts like handles, bowls, logos, colors, and shapes to match your brand’s identity and appeal.
If you want to create measuring spoons that reflect your brand’s style and quality, read on. I’ll guide you step-by-step through what customization really means and how it works in practice.
Table of Contents
What parts of a measuring spoon can be customized?
Generic spoons blend in. Custom parts create impact. But what exactly can you change?
You can customize handles, spoon bowls, logos, colors, surface finishes, packaging, and even special features like magnets or hanging holes.
Exploring Customizable Parts
When I talk to clients about measuring spoons, they often want to know how flexible the design process is. The answer: very flexible, if you know where to focus.
1. Handle Design
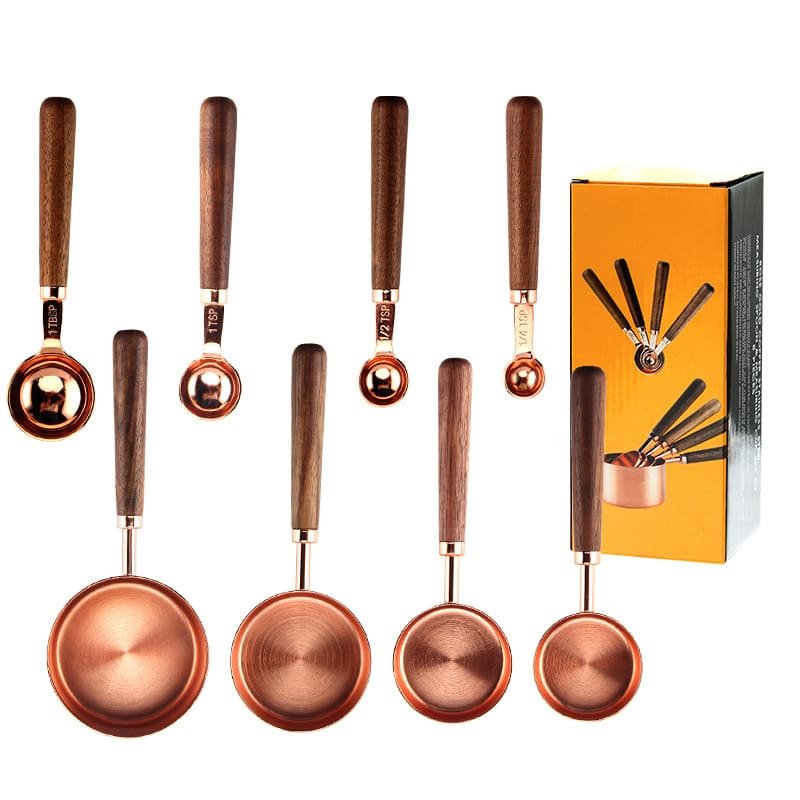
Length, shape, thickness, texture, and ergonomic features. You can make handles slim, chunky, straight, curved, or with grips.
2. Spoon Bowl Shape
Round, oval, flat, deep, or uniquely shaped bowls influence both look and measuring accuracy.
3. Logo Placement
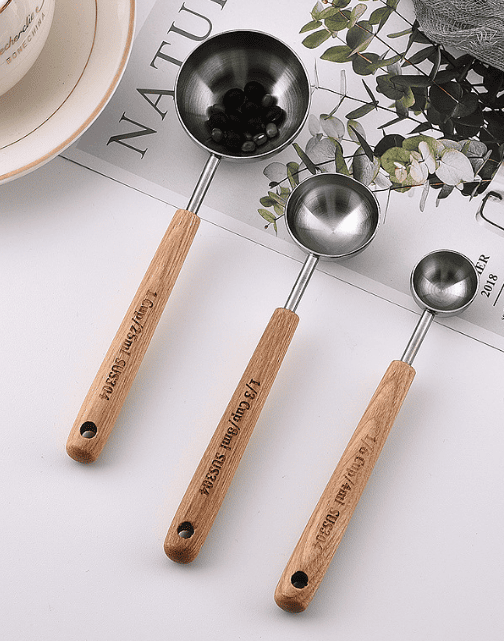
Laser engraving, embossing, or printing on handles or bowls to display your brand clearly.
4. Color and Finish
Matte, glossy, brushed metal, or vibrant plastic colors.
5. Special Features
Magnets for sticking to fridges, holes for hanging, or silicone grips for comfort.
| Part | Customization Options | Impact |
|---|---|---|
| Handle | Shape, length, texture, material | Ergonomics and style |
| Spoon Bowl | Size, shape, depth | Accuracy and appearance |
| Logo | Engraving, printing, embossing | Brand visibility |
| Color | Pantone matching, multi-color options | Brand identity, appeal |
| Surface Finish | Matte, gloss, brushed, polished | Perceived quality |
| Extras | Magnets, hanging holes, grips | Functionality |
Customizing these parts helps your measuring spoons speak your brand’s language. It also improves user experience, a big plus when competing on quality.

How does logo engraving or printing work on measuring spoons?
I get asked often: “What’s the difference between engraving and printing logos? Which should I choose?”
Engraving uses laser or mechanical tools to etch the logo into the spoon’s surface for durability. Printing applies ink or paint for colorful logos but may wear off faster.
Breaking Down Logo Customization
Your logo is your identity on the spoon. How you put it there changes the look, feel, and lifespan.
Engraving
– Uses laser or rotary tools to carve the design.
– Works best on metal and hard plastics.
– Long-lasting and wear-resistant.
– Usually monochrome (metal color vs. background).
Printing
– Applies colored inks via pad printing, silk screening, or UV printing.
– Allows full color logos with gradients.
– Best for plastic and silicone.
– Less durable, may fade or scratch with use.
Embossing / Debossing
– Raises or recesses the logo on the surface by molding or stamping.
– Creates a tactile feel.
– Works well for metal and plastic spoons.
| Method | Suitable Materials | Durability | Color Options | Cost Impact |
|---|---|---|---|---|
| Engraving | Metal, hard plastic | Very High | Monochrome | Medium-High |
| Printing | Plastic, silicone | Medium | Full Color | Medium |
| Embossing | Metal, plastic | High | Monochrome | Medium |
For my clients, I usually recommend engraving for premium metal spoons to ensure the brand lasts. For colorful plastic sets, printing is the go-to method to catch the eye.
What color options are available for plastic and silicone measuring spoons?
Bright colors attract attention. Matching brand colors can strengthen recognition.
Plastic and silicone measuring spoons offer wide color options including solid colors, transparent, and multi-color designs, often matched exactly to Pantone standards.
Diving Into Color Choices
Choosing colors can be simple or complex depending on your needs.
Plastic
– Injection molded with color masterbatches.
– Can match any Pantone color.
– Matte or glossy finish available.
– Multi-color sets possible by combining colors on handles and bowls.
Silicone
– Comes in bright, soft, or pastel colors.
– Can be translucent or opaque.
– Usually dipped or molded with color pigments.
– Color matching is precise but slightly more limited than plastic.
| Material | Color Range | Finish Options | Typical Uses |
|---|---|---|---|
| Plastic | Full Pantone range | Matte, Glossy | Colorful, branded sets |
| Silicone | Soft pastel to bright | Matte, Slight gloss | Soft-touch grips |
In my experience, plastic gives more freedom to match exact brand colors and create vibrant sets. Silicone is great for softer, modern looks that appeal to younger or health-conscious customers.
Can I create a unique shape or design for my measuring spoon set?
If you want to stand out, unique shapes matter. The question is: how custom can you get?
Yes, you can create unique shapes and designs, but it requires custom molds and design approval, which adds time and cost.
Understanding Shape Customization
Custom shapes require investment but offer big branding power.
Design Process
– Start with sketches or CAD drawings.
– Prototype via 3D printing or CNC machining.
– Finalize mold design for injection molding (plastic/silicone) or stamping (metal).
Limitations
– Extreme shapes may affect measuring accuracy.
– Complex molds cost more and take longer to make.
– Production speed may slow down with unusual designs.
Benefits
– Unique sets catch customer attention.
– Can integrate ergonomic improvements or brand themes.
| Aspect | Details | Impact |
|---|---|---|
| Design Time | Weeks to months | Longer lead times |
| Mold Cost | $3,000 – $15,000+ depending on complexity | Higher initial investment |
| Production Cost | Slightly higher per unit | Depends on shape complexity |
| Branding Impact | High | Stronger brand identity |
From my years working with designers like Jacky, the best advice is to balance uniqueness with production feasibility. Make sure the design adds value without hurting usability.
How long does it take to develop a custom mold?
Time is money. I always warn clients: don’t rush the mold process.
Developing a custom mold usually takes 4 to 8 weeks, depending on complexity, material, and design approval speed.
What Happens During Mold Development?
Mold making is precise and technical.
Steps
– Design finalization (1-2 weeks).
– Mold machining and assembly (3-5 weeks).
– Sample testing and adjustment (1 week).
– Client approval before mass production.
Factors Affecting Time
– Complexity of design and number of cavities.
– Material used for mold (steel molds last longer but take longer to make).
– Communication speed between client, designer, and factory.
| Stage | Typical Duration | Notes |
|---|---|---|
| Design Finalization | 1-2 weeks | Includes CAD and sample review |
| Mold Manufacturing | 3-5 weeks | CNC machining and polishing |
| Sample Testing | 1 week | Functional and quality checks |
| Approval & Adjustments | 1 week | Minor fixes if needed |
I always recommend my clients plan mold development early in their project timeline. Last-minute rush usually leads to mistakes or higher costs.
What are the most popular customization requests from brands?
Brands want to make an impression. I see certain customization trends consistently.
The top customization requests include logo engraving, color matching to brand palettes, ergonomic handle designs, magnetic attachments, and eco-friendly materials.
Popular Customization Trends
I track client requests to understand what sells and what sets brands apart.
Logo and Branding
– Laser engraving on metal spoons is highly popular for lasting visibility.
– Color printing on plastic handles for vibrant brand expression.
Colors and Finishes
– Matte black and metallic gold finishes are trendy among premium brands.
– Bright pastel colors appeal to younger markets.
Functional Features
– Magnetic handles to keep spoons attached to metal surfaces.
– Hanging holes for easy storage and display.
Material Choices
– Increasing interest in eco-friendly materials like biodegradable plastics.
– Silicone grips combined with stainless steel bowls for comfort.
| Customization Type | Popularity Rank | Benefits |
|---|---|---|
| Logo Engraving | 1 | Durable branding |
| Color Matching | 2 | Visual appeal and brand identity |
| Handle Ergonomics | 3 | User comfort |
| Magnetic Features | 4 | Convenience and storage |
| Eco-friendly Materials | 5 | Appeals to sustainability-conscious buyers |
From my perspective, the key to successful customization is blending aesthetics with usability. The most popular features not only look good but improve how people use the spoons daily.
Customizing measuring spoons lets your brand shine through design, color, and function, creating lasting impressions that customers appreciate.